
TLDR
Always design with bleed (1/8" on every side).
Print at 100% (no “fit to page,” no “helpful” scaling).
Avoid tiny borders unless you enjoy suffering.
White edges are usually cut drift, not a personal attack.
If you want to avoid white edges on MTG proxies, you’re fighting three enemies: no bleed, bad scaling, and imperfect cutting. The fourth enemy is “I’ll just eyeball it,” but we can’t fix everything in one post.
Why white edges happen (the boring truth)
Cuts are never perfectly centered. Printers and cutters have tolerances, paper shifts, blades wander slightly, and the universe refuses to align your borders.
So if your artwork stops at the trim line, any cut drift reveals unprinted paper. That’s the white edge.
The fix is a three-part system
1) Build with bleed (so the cut has wiggle room)
Use:
Trim: 2.5" x 3.5"
Bleed: +1/8" each side
File: 2.75" x 3.75"
And extend backgrounds all the way to the bleed edge. Not “almost.” All the way.
2) Print at actual size (so your file doesn’t get quietly shrunk)
In your print dialog:
Scaling: 100%
Disable: “Fit to page,” “Shrink to printable area,” “Scale to fit”
If you print at 97%, you just created a border. Congrats on the new border you did not ask for.
3) Cut with a plan (so your cuts are consistent)
Your cutting accuracy is only as good as:
your guides (crop marks or cut lines),
your tool (sharp trimmer beats sad scissors),
and your patience (yes, unfortunately).
A quick diagnostic checklist
If white edges are on every card, same side
Likely causes:
Scaling is off (printed smaller than intended)
Your cut line is wrong (layout shifted)
Fix:
Confirm 100% print scaling
Recheck your layout measurements
If white edges vary from card to card
Likely causes:
Inconsistent cutting
Paper shifting while cutting
Fix:
Use a trimmer with a firm backstop
Cut fewer sheets at a time
Add clearer cut guides
If you only see white edges on “borderless” designs
Likely causes:
You didn’t extend art past trim (no bleed), or
the background isn’t truly full-bleed (it fades to white near the edge)
Fix:
Push background past the trim line into bleed
Avoid soft gradients to white near the edge
Borders are harder than full bleed (yes, really)
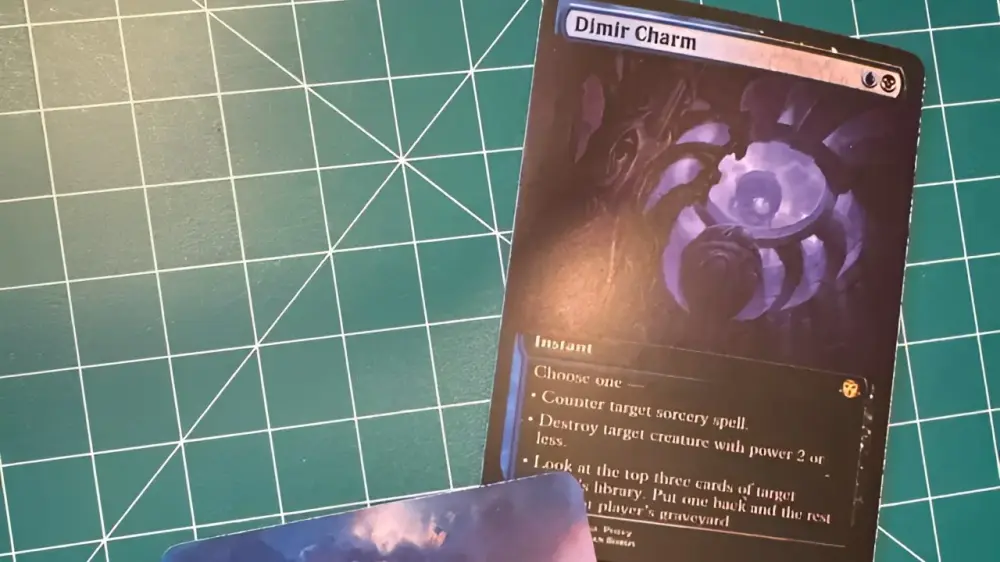
A thin black border looks crisp on screen. In print, it’s a snitch. It tattles on the smallest cut drift.
If you want borders:
Make them thicker
Keep them inside the safe zone
Expect some variance anyway
If you want fewer headaches:
Full-bleed backgrounds
No razor-thin outlines at the edge
Home printing gotchas that cause “fake” white edges
Your printer can’t print borderless on that paper setting, so it adds margins.
Your software auto-shrinks to printable area.
Your cardstock curls slightly and shifts as it feeds.
A simple workaround: print on larger paper and trim down, but only if your workflow supports it.
Want the “least drama” route?
If you’re doing this at home, do one test sheet and cut one card before you print the whole deck. It’s slower by five minutes and faster by an hour.
For the broader workflow context:
FAQs
Can I fix white edges after printing?
You can hide them (marker edge, recolor), but the real fix is bleed + correct scaling + better cutting.
How much bleed do I need to avoid white edges?
Usually 1/8" per side. Some printers use 3mm. Follow the template you’re printing to.
Why do I still get white edges even with bleed?
Most often: your cut drift exceeded your bleed, or your bleed wasn’t truly extended (art stops early).
Does borderless printing solve this?
Not reliably. Borderless printing can crop unpredictably too. Bleed is still the cleaner solution.
What’s the biggest mistake people make?
Printing at “Fit to page.” It feels harmless. It is not.